I’ve spent the better part of a decade watching parents struggle with the delicate dance of loading a child onto a bicycle. I’ve seen the wobbly bike that tips over when a toddler shifts their weight, the frantic lunging to grab a handle before the bike hits the pavement, and the look of sheer panic that follows. In the shop, I used to tell parents: "If your bike isn't stable while parked, it isn't ready for a passenger."
If you are currently relying on a standard, single-side kickstand to support a bike with a rear-mounted child seat, you are living on the edge of a tip-over. Let’s talk about why adding a double kickstand (often called a center stand) is one of the most practical safety upgrades you can make, and why your bike's handling—and your child’s safety—depends on more than just "age."
The Age Myth: Developmental Readiness Matters Most
One of the things that drives me a little crazy in the parenting world is the reliance on rigid age milestones. You’ll often see, "Good for ages 12 months and up!" on the back of a box. Ignore that for a second. Safety isn't about a birthday; it's about physiology.
Before you even look at a seat or a kickstand, you need to ensure your child is ready. Here is my "service-counter checklist" for developmental readiness:
- Neck Strength: Can they support their own head while wearing a helmet? A helmet adds weight and shifts the center of gravity; if they can't hold their head up steadily while you’re walking them, they certainly shouldn't be on the back of a bike. Core Stability: Can they sit upright independently for extended periods without slumping? A child who slouches is a child who is harder to balance on the bike. The "Active" Factor: Are they still, or do they fidget? A calm kid is a predictable load. A kid who leans over to look at a dog creates a sudden, dynamic shift in your bike's center of gravity that can catch you off guard.
The Physics of the "Oh No" Moment: Parking with a Child Seat
When you attach a rear child seat to a standard bicycle, you are fundamentally changing the physics of your ride. Even a lightweight seat adds weight high up on the frame. When you park, that weight acts like a lever. If you lean your bike on a single kickstand and your child shifts even an inch, the entire center of gravity moves outside the footprint of the bike's tires and stand.
This is where the double kickstand becomes a safety necessity, not an accessory. A center stand lifts the rear wheel off the ground or creates a wide, tripod-like base that prevents the bike from listing to one side. When the bike is parked, it acts as a rigid platform. You can buckle, helmet, and adjust without the bike swaying under you.
Comparison: Single vs. Double Kickstands
Feature Single Kickstand Double Kickstand (Center Stand) Stability Minimal; prone to tipping High; bike remains vertical Loading Convenience Requires constant bracing Hands-free loading Handling Impact None (while riding) Adds weight, check pedal clearance Risk Profile High risk of bike-to-ground contact Low; prevents "topple" accidentsSeat Types: Where Does the Weight Go?
Not all seats are created equal, and where you mount them changes how stable your bike will be, regardless of your kickstand.
Frame-Mounted Seats
These seats attach to the seat tube of your bike. They usually rely on a flexible steel bracket. While they offer a bit of "suspension" for the child, they can feel "springy" or bouncy. If you use a frame-mounted seat, a double kickstand is even more critical because the bike itself will feel less rigid when you are getting the child in and out.
Rack-Mounted Seats
These bolt directly onto a sturdy rear rack. They are generally much more stable because they lack that "bounce" factor. They feel like a solid part of the bike frame. Even with a rack-mounted seat, however, don't skimp on the kickstand. If you are using a rack-mounted seat, ensure the rack is rated for the weight of your child—I’ve seen too many racks buckle because the bolts weren't torqued properly.
Alternatives: Trailers and Cargo Bikes
Sometimes, a rear seat just isn't the right tool for the job. If you find that your bike feels "flighty" at the front end (the front wheel lifting off the ground when you load the rear), you might need to rethink your setup.
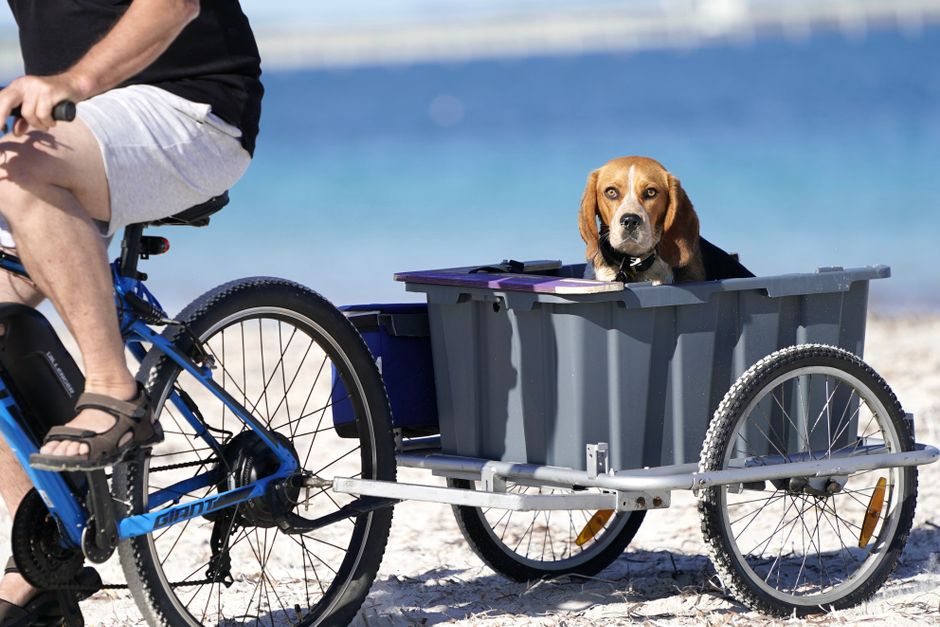
Trailers: These are the gold standard for "what if" scenarios. If the bike tips, the trailer stays upright because of the specialized hitch. They keep the weight low and off your bike frame, which preserves your handling. The downside? You are wider and longer on the road. Longtail Cargo Bikes: These are built for this. They have longer wheelbases, lower centers of gravity, and are designed to accommodate heavy-duty center stands from the factory. If you’re doing this daily, a cargo bike is worth every penny of the investment.The Non-Negotiables: Safety Checks Before You Roll
Even if you have the best gear in the world, it’s useless if you skip the pre-ride safety check. I’m a broken record on this, but it saves lives:
1. The Helmet Fit
If you see your child’s helmet sliding back to reveal their forehead, stop. It should be level, covering their forehead. If you can fit more than two fingers between their chin and the strap, it’s too loose. A helmet that isn't fitted is just a hat; it won't protect them in a fall.
2. The "Two-Click" Buckle Check
I always do this in my head. Click, click. Check the harness tension. Can you pinch the webbing? If you can pinch the strap at the shoulder, it’s too loose. It should be snug enough that the child is held firmly against the back of the seat, not swaying within it.
3. The Torque Key Check
I keep a tiny torque key in my junk drawer for a reason. Check your seat mounting bolts every month. Aluminum frames are sensitive, and steel bolts can vibrate loose over time. A rattling seat is a dangerous seat. Give those bolts a quick turn before your weekend ride.
4. The Handling Shift
Remember: a bike with 30-40 pounds of extra weight on the back rides differently. It will take longer to stop. Your turning radius will widen. If you aren't used to it, practice in an empty parking lot without your child on board first. Get a feel for how the bike "brakes" and "turns." Never assume your bike will handle exactly like it does when you’re riding solo.
Final Thoughts: Keep it Calm
Commuting with your child is one of the most rewarding things you can do. It’s an adventure, a chance to talk about the world, and a way to build independence. But don't let the "cool factor" of biking hide the technical realities.
Invest in a sturdy, wide-base double kickstand. Ensure your mounting hardware is tight. Check your child’s helmet fit every single time—no exceptions. Take the extra five seconds to do that two-click buckle check. When you take the gear seriously, you can relax and actually enjoy the ride. See you out there on the bike path.